
Save to Playlist
Step-by-Step Instructions
Resources Premium
Video Tutorial Premium
How To Play Narrative Premium
Practical Leadership Tips Premium
Social-Emotional Learning Premium
Health & Wellness Programming Premium
Popular Variations Premium
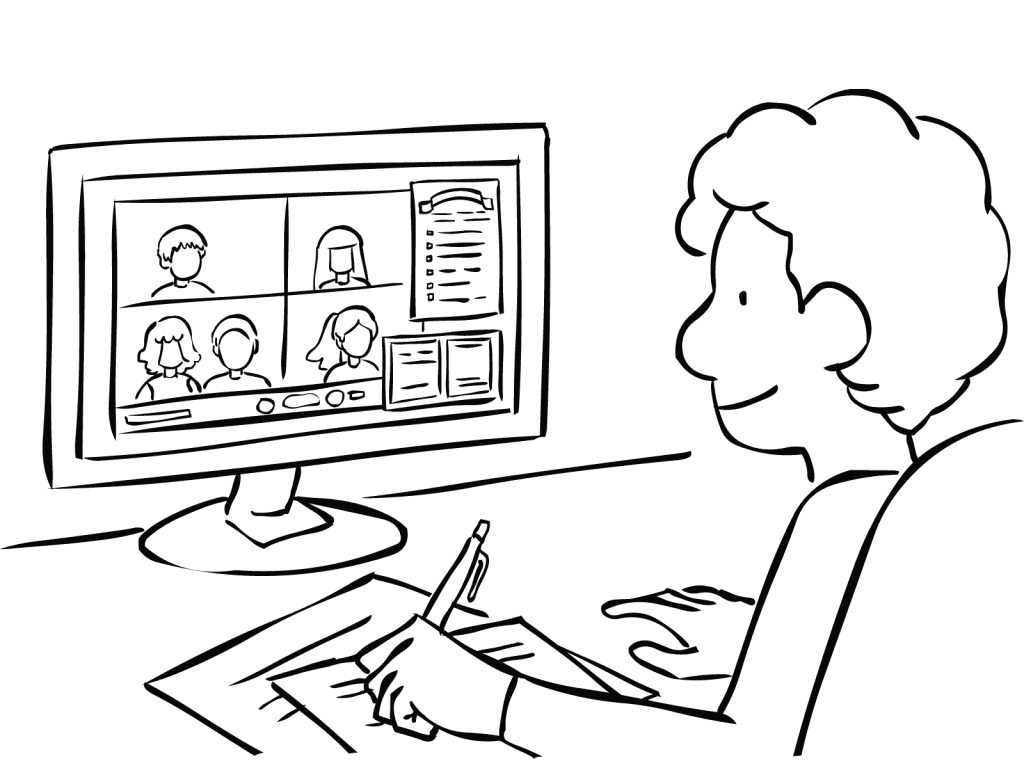
Virtual Adaptation Premium
You Might Also Like... Premium
Useful Framing Ideas Premium
Reflection Tips & Strategies Premium
Source Premium

No Props No Problem
Brand NEW book featuring 150+ outrageously fun group games & activities. Scan QR codes to connect to tons of digital content including video tutorials.
Add to Cart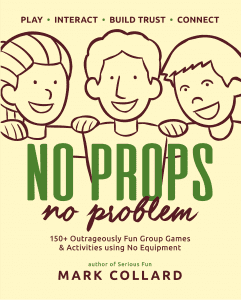
NEW – No Props No Problem
The best-selling book featuring 150+ outrageously fun group games & activities. Scan QR codes to access exclusive digital content including video tutorials.
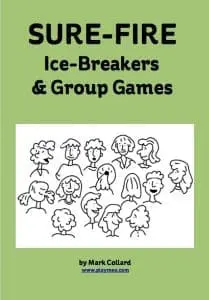
Free Ice-Breakers & Group Games
Ten of the best no-prop, interactive ‘get-to-know-you’ games & activities. 100% fun, your group will love ’em. Our most successful giveaway, 10,000+ downloads so far…
Top Ten Icebreakers & Group Games
Download our free 28-page ebook jam-packed with outrageously fun activity ideas.
Just one more question:
I am interested in…
Choose a plan that’s right for you
We offer a range of membership plans with no surprises.
Click an option below & discover our simple pricing.

Individual
Click here if you’re a:
- Teacher
- Corporate trainer
- Outdoor educator
- Camp leader
- Youth leader
- Conference organiser
- Therapist/counsellor
Membership Plans

Enterprise
Click here if you represent a:
- School
- Corporation
- Community-based Organisation
Explore plans for
10, 50, 200 or more
potential users
Membership Plans
I’ve created and used scavenger hunts with Padlet with several groups (after being introduced to it by playmeo). It’s an awesome activity – super engaging for small breakout rooms in Zoom.
Hi there,
I was excited to see this activity offered with support. Before I purchase the padlet subscription (for a month rather than a year), I was wondering if it’s possible to plan and organize everything and then host the scavenger hunt all within a month’s time before access to the padlet runs out. Can anyone give me a time frame of what to expect? Thank you!
Michael, you ask a good question. I think it’s possible to do everything from within the month, but if you are concerned, I would suggest that you could do a lot of pre-work in advance, eg plan which challenges you will use, their sequence, their passwords, create all of the images you wanted to upload, etc. Then, you could use your month’s registration to not only become acquainted with padlet but build the whole event. Reach out if you ever need help!
Hi Mark, Great content. Thank you. Have you run into any issues with organizations that block access to these kinds of websites? I have a few companies I work with that have blocked sites like Flippity.
Hey Greg, thanks for your comment. No, I am not aware of the padlet technology being blocked by certain companies. The only place I do know coverage is patchy is in China (which is a whole other kettle of fish.) What’s the issue with Flippity? Is it because it requires access to Google Drives/Docs?